Androidのカメラ映像をWifi経由でWindowsに表示 ~Delphiソースコード集
0.作成するもの
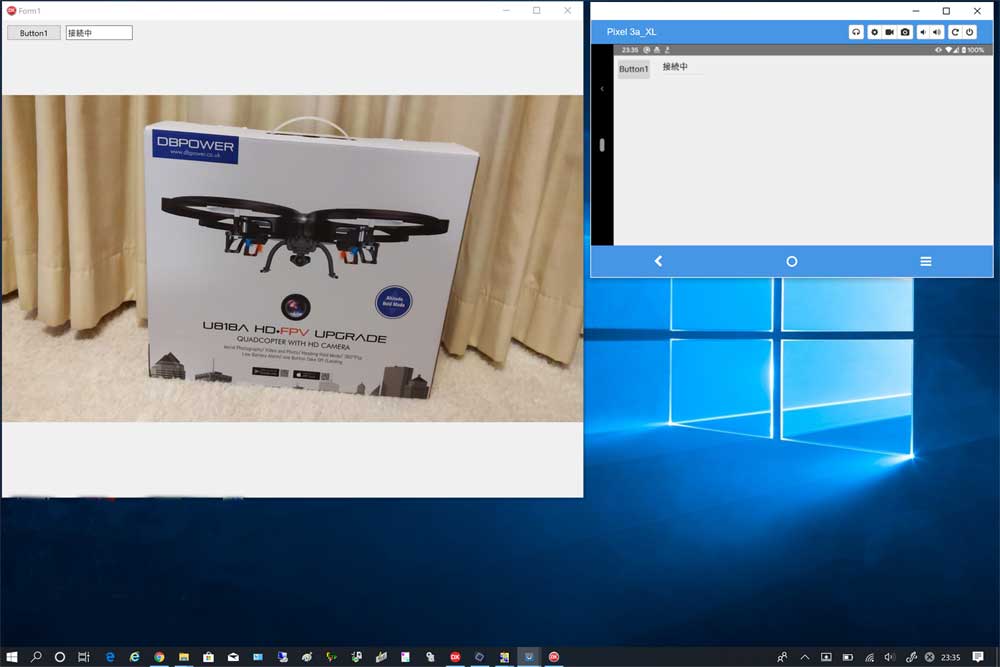
同じLANに接続されている(同じWifiアクセスポイントに接続している)android端末とwindows端末で、 android端末のカメラで撮影した映像を1秒に1回windows端末にjpg形式で画像を転送して、 windows端末に表示します。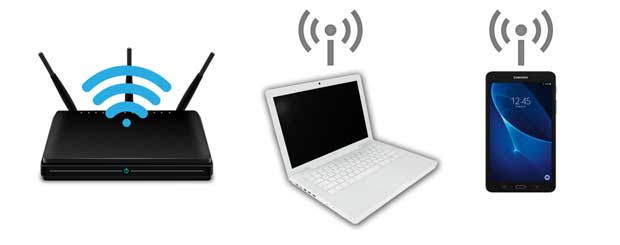
1.プロジェクトの作成とファイルの保存
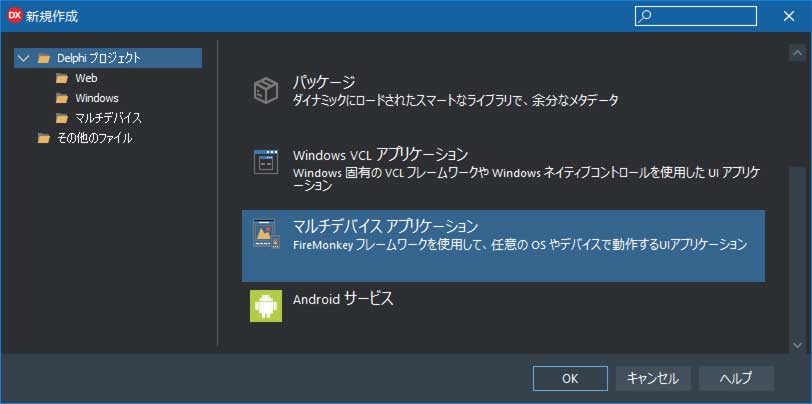
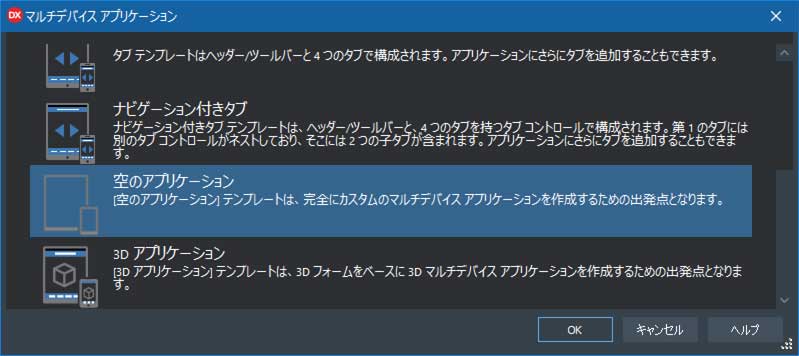
ファイル⇒新規作成⇒マルチデバイス アプリケーション -Delphiをクリックします。
「空のアプリケーション」を選択してOKを押します。
「すべて保存」ボタンを押して、
ドキュメント\Embarcadero\Studio\Projects\AppTether\windows
フォルダにプロジェクト(Project1.dproj)とユニット(Unit1.pas)をデフォルトのまま保存します。
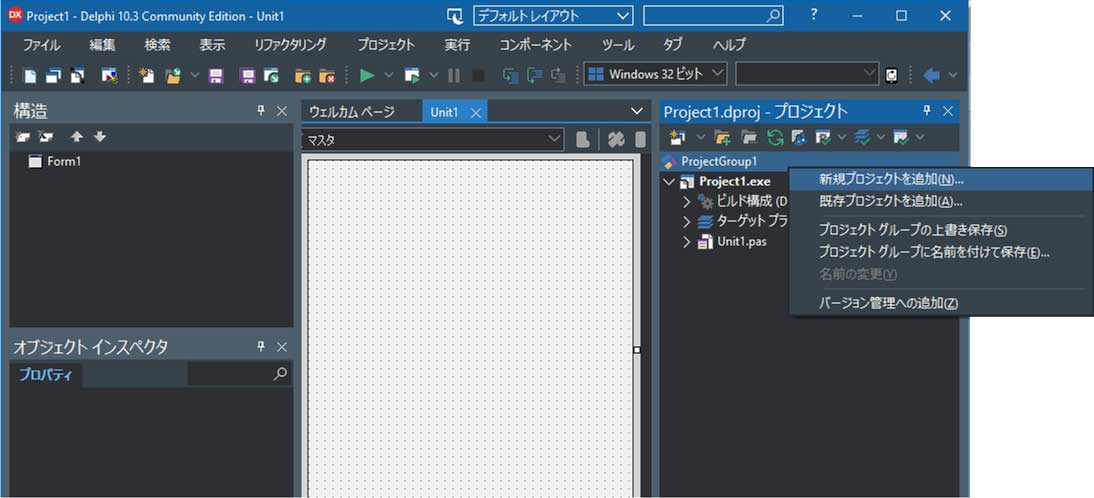
右ペイン(Project1.dproj - プロジェクト)の「ProjectGroup1」を右クリックし、 「新規プロジェクトを追加」を左クリックします。
「マルチデバイス アプリケーション」を選択してOKを左クリックします。
「空のアプリケーション」を選択してOKを左クリックします。
「すべて保存」ボタンを押して、
ドキュメント\Embarcadero\Studio\Projects\AppTether\android
フォルダにプロジェクト(Project2.dproj)とユニット(Unit2.pas)をデフォルトのまま保存します。
プロジェクトグループ「ProjectGroup1.groupproj」ファイルは
ドキュメント\Embarcadero\Studio\Projects\AppTether
フォルダに保存します。
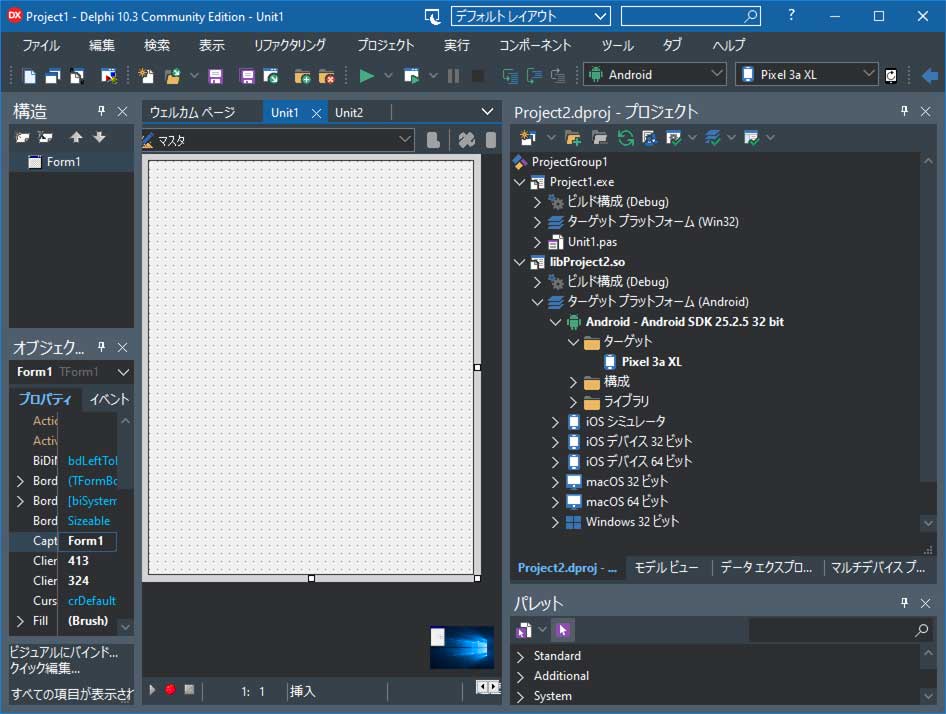
右上ペインのProject2のターゲットプラットフォームを展開して「Android」をダブルクリックして切り替えます。
| ・・・\Projects\AppTether | |
| ProjectGroup1.groupproj | |
| ・・・\Projects\AppTether\windows | |
| Project1.dproj | |
| Unit1.pas | |
| ・・・\Projects\AppTether\android | |
| Project2.dproj | |
| Unit2.pas | |
2.画面の作成
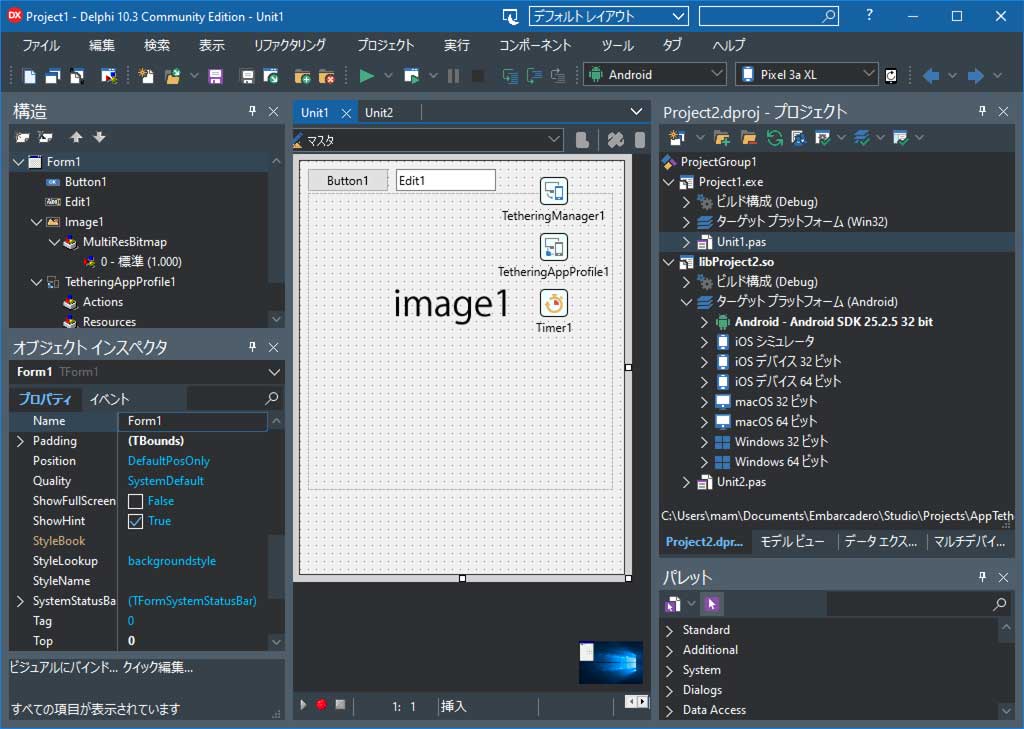
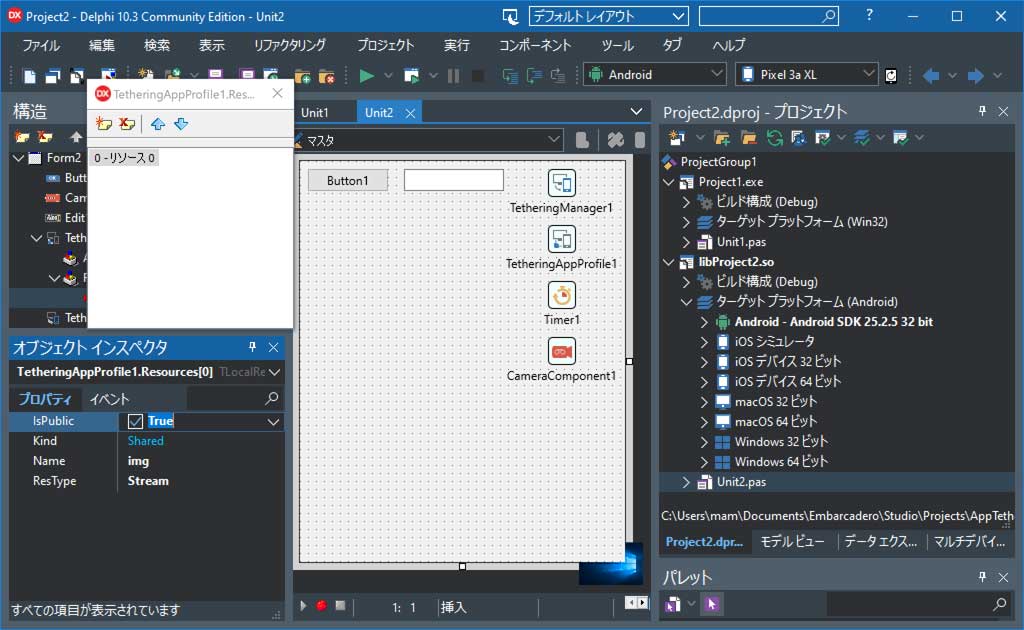
Unit1(Windowsアプリの画面)にTButton、TEdit、TImage、TTetheringManager、TTetheringAppProfile、TTimerをドラッグ&ドロップします。
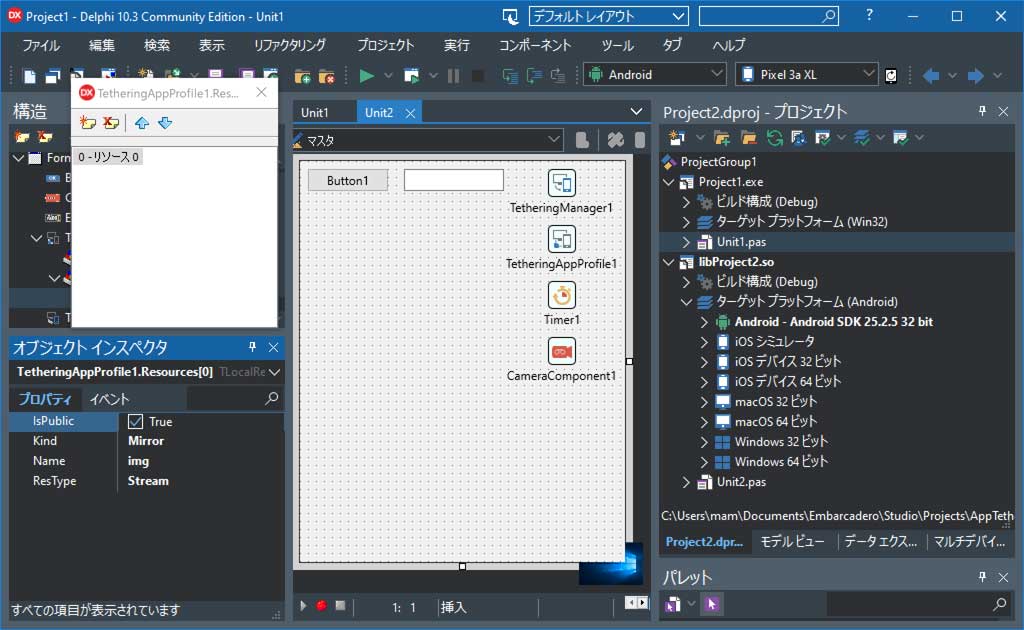
Unit2(Androidアプリの画面)に
TButton、TEdit、TTetheringManager、TTetheringAppProfile、TTimer、TCameraComponentをドラッグ&ドロップします。

3.プロパティの設定
Unit1(Windowsアプリの画面)のTetheringAppProfile1.ManagerプロパティをTetheringManager1に設定します。Unit1(Windowsアプリの画面)のTetheringAppProfile1.Groupプロパティを MyGroup に設定します。
Unit1(Windowsアプリの画面)のTetheringAppProfile1.Resourcesプロパティの[...]ボタンをクリックします。
新規追加ボタンをクリックすると「リソース0」が追加され、プロパティを以下に設定します。
Kind:Mirror Name:img ResType:Stream
Unit2(Androidアプリの画面)のTetheringAppProfile1.ManagerプロパティをTetheringManager1に設定します。
Unit2(Androidアプリの画面)のTetheringAppProfile1.Groupプロパティを MyGroup に設定します。
Unit2(Androidアプリの画面)のTetheringAppProfile1.Resourcesプロパティの[...]ボタンをクリックします。
新規追加ボタンをクリックすると「リソース0」が追加され、プロパティを以下に設定します。
Kind:Shared Name:img ResType:Stream
4.プロジェクトオプションの設定
右上ペインの「libProject2.so」をダブルクリックしてプロジェクトを切り替えます。プロジェクト⇒オプション をクリックします。
左ペインの アプリケーション⇒使用する権限 をクリックします。
ターゲットを、「すべての構成 - Androidプラットフォーム」に切り替えます。
カメラの使用にチェックをいれて「保存」をクリックします。
5.Unit1(Windowsアプリ)ソースコードの記述
unit Unit1;

interface

uses
  System.SysUtils, System.Types, System.UITypes, System.Classes, System.Variants,
  FMX.Types, FMX.Controls, FMX.Forms, FMX.Graphics, FMX.Dialogs, IPPeerClient,
  IPPeerServer, FMX.StdCtrls, FMX.Controls.Presentation, FMX.Edit, FMX.Objects,
  System.Tether.Manager, System.Tether.AppProfile;

type
  TForm1 = class(TForm)
    TetheringManager1: TTetheringManager;
    TetheringAppProfile1: TTetheringAppProfile;
    Image1: TImage;
    Timer1: TTimer;
    Edit1: TEdit;
    Button1: TButton;
    procedure TetheringAppProfile1Resources0ResourceReceived(
      const Sender: TObject; const AResource: TRemoteResource);
    procedure Button1Click(Sender: TObject);
    procedure Timer1Timer(Sender: TObject);
    procedure TetheringAppProfile1AcceptResource(const Sender: TObject;
      const AProfileId: string; const AResource: TCustomRemoteItem;
      var AcceptResource: Boolean);
  private
    { private 宣言 }
  public
    { public 宣言 }
  end;

var
  Form1: TForm1;

implementation

{$R *.fmx}

procedure TForm1.Button1Click(Sender: TObject);
begin
  TetheringManager1.AutoConnect();
end;

procedure TForm1.TetheringAppProfile1AcceptResource(const Sender: TObject;
  const AProfileId: string; const AResource: TCustomRemoteItem;
  var AcceptResource: Boolean);
begin
    AcceptResource:=True;
end;

procedure TForm1.TetheringAppProfile1Resources0ResourceReceived(
  const Sender: TObject; const AResource: TRemoteResource);
begin
  TThread.Synchronize(nil,procedure
  begin
    Image1.Bitmap.LoadFromStream(AResource.Value.AsStream);
  end);
end;

procedure TForm1.Timer1Timer(Sender: TObject);
begin
  if TetheringManager1.RemoteProfiles.Count>0 then
    Edit1.Text:='接続中'
  else
    Edit1.Text:='未接続';
end;

end.
6.Unit2(Androidアプリ)ソースコードの記述
unit Unit2;

interface

uses
  System.SysUtils, System.Types, System.UITypes, System.Classes, System.Variants,
  FMX.Types, FMX.Controls, FMX.Forms, FMX.Graphics, FMX.Dialogs, IPPeerClient,
  IPPeerServer, FMX.Edit, FMX.Controls.Presentation, FMX.StdCtrls, FMX.Media,
  System.Tether.Manager, System.Tether.AppProfile,
  FMX.platform, FMX.surfaces, System.Permissions ;

type
  TForm2 = class(TForm)
    TetheringManager1: TTetheringManager;
    TetheringAppProfile1: TTetheringAppProfile;
    Timer1: TTimer;
    CameraComponent1: TCameraComponent;
    Button1: TButton;
    Edit1: TEdit;
    procedure Button1Click(Sender: TObject);
    procedure Timer1Timer(Sender: TObject);
    procedure FormCreate(Sender: TObject);
    procedure CameraComponent1SampleBufferReady(Sender: TObject;
      const ATime: TMediaTime);
  private
    { private 宣言 }
    img_flag:boolean;
    Fstrm:TMemoryStream;

    function AppEvent(iAppEvent:TApplicationEvent;iContext:TObject):Boolean;
    procedure PermissionRequestResult(
      Sender: TObject; const APermissions: TArray;
      const AGrantResults: TArray);
    procedure RequestPermissions();
  public
    { public 宣言 }
  end;

var
  Form2: TForm2;

implementation

{$R *.fmx}

uses
  Androidapi.Helpers, Androidapi.JNI.Os,
  //Androidapi.JNI.JavaTypes,
  Androidapi.Jni.Support, FMX.DialogService ;

function TForm2.AppEvent(iAppEvent: TApplicationEvent;
  iContext: TObject): Boolean;
begin
  Result:=False;
  case iAppEvent of
    TApplicationEvent.BecameActive:
    begin
      //focus取得時
      CameraComponent1.Active:=true;
      Sleep(100);
      CameraComponent1.Active:=False;
      Sleep(400);
      //オートフォーカスモードに設定する
      CameraComponent1.FocusMode:=TFocusMode.ContinuousAutoFocus;
      CameraComponent1.Active:=True;
    end;
    TApplicationEvent.WillBecomeInactive:
    begin
      //focus喪失時
      CameraComponent1.Active:=False;
    end;
  end;
end;

procedure TForm2.Button1Click(Sender: TObject);
begin
  TetheringManager1.AutoConnect();
end;

procedure TForm2.CameraComponent1SampleBufferReady(Sender: TObject;
  const ATime: TMediaTime);
var bmp  :TBitmap;
    bmps :TBitmapSurface;
    pm   :TBitmapCodecSaveParams;
begin
  if img_flag then
    TThread.Synchronize(
      TThread.CurrentThread,
      procedure
      begin
        bmp:=TBitmap.Create;
        bmps := TBitmapSurface.Create;

        CameraComponent1.SampleBufferToBitmap(bmp,true);
        bmps.Assign(bmp);

        if Fstrm<>nil then fstrm.DisposeOf;

        Fstrm:=TMemoryStream.Create;

        //品質80で保存(0-100)
        pm.Quality:=80;
        TBitmapCodecManager.SaveToStream(fstrm,bmps,'.jpg',@pm);

        fstrm.Position:=0;
        TetheringAppProfile1.Resources.FindByName('img').Value:=fstrm;

        img_flag:=false;
        bmp.DisposeOf;
        bmps.DisposeOf;
      end
    );
end;

procedure TForm2.FormCreate(Sender: TObject);
var APPEventService:IFMXApplicationEventService;
begin
  img_flag:=false;
  CameraComponent1.Kind:=TCameraKind.BackCamera;
  if TPlatformServices.Current.SupportsPlatformService(
       IFMXApplicationEventService) then
  begin
      APPEventService:=IFMXApplicationEventService(
        TPlatformServices.Current.GetPlatformService(
          IFMXApplicationEventService)
      );
  end;
  if (APPEventService<>nil) then
    APPEventService.SetApplicationEventHandler(AppEvent);
  RequestPermissions();
end;

procedure TForm2.PermissionRequestResult(Sender: TObject;
  const APermissions: TArray;
  const AGrantResults: TArray);
begin
  //カメラとストレージの権限があるか
  if (AGrantResults[0]<>TPermissionStatus.Granted) then
  begin
    //権限がない場合
    //「□今後は表示しない」チェックボックスにチェックが入っているか
    if (TJActivityCompat.JavaClass.shouldShowRequestPermissionRationale(
         TAndroidHelper.Activity,TJManifest_permission.JavaClass.CAMERA)) then
    begin
      //「□今後は表示しない」チェックボックスにチェックが入っていない場合
      // 非同期でダイアログを表示して説明と許可を要求
      TDialogService.MessageDialog(
        '許可しないとアプリが動作しません。',TMsgDlgType.mtInformation,
        [TMsgDlgBtn.mbOK],TMsgDlgBtn.mbOk,0,
        procedure (const AResult: TModalResult)
        begin
          //2回目以降は「□今後は表示しない」チェックボックスが表示される
          RequestPermissions();
        end);
    end
    else
    begin
      //「□今後は表示しない」チェックボックスにチェックが入っている
      TDialogService.MessageDialog(
        '権限が無いため終了します。「設定⇒アプリと通知」から権限を設定してください。',
        TMsgDlgType.mtError,[TMsgDlgBtn.mbOK],TMsgDlgBtn.mbOK,0,
        procedure(const AResult:TModalResult)
        begin
          Application.Terminate;
        end
      );
    end;
  end;
end;

procedure TForm2.RequestPermissions;
var FPmsCamera: string;
begin
  FPmsCamera :=
    JStringToString(TJManifest_permission.JavaClass.CAMERA);
  PermissionsService.RequestPermissions(
    [FPmsCamera],PermissionRequestResult);
end;

procedure TForm2.Timer1Timer(Sender: TObject);
begin
  if TetheringManager1.RemoteProfiles.Count>0 then
  begin
    Edit1.Text:='接続中';
    img_flag:=true;
  end
  else
  begin
    Edit1.Text:='未接続';
    img_flag:=false;
  end;
end;

end.
7.完成したアプリケーションを起動する
(1)Windowsアプリの実行
右上ペインのProject1.exeをダブルクリックします。実行⇒実行 又はツールバーの「右三角」ボタンを押して実行します。
(2)Androidアプリの実行
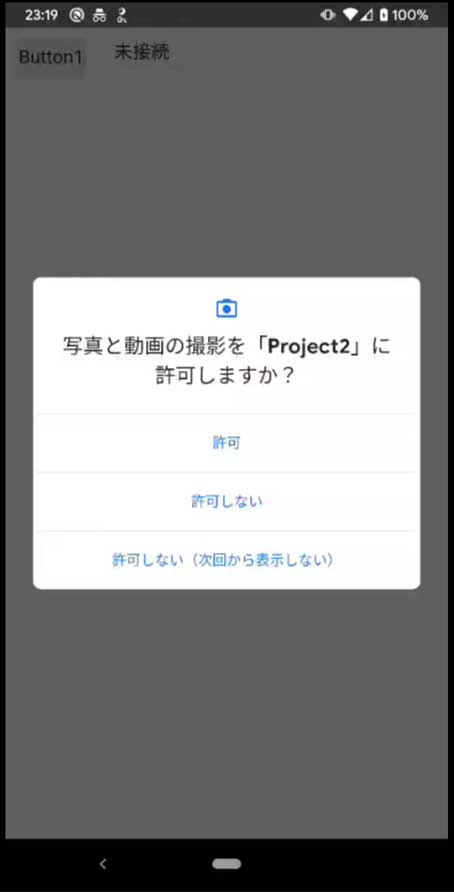
右上ペインのlibProject2.soをダブルクリックします。実行⇒実行 又はツールバーの「右三角」ボタンを押して実行します。
以下ダイアログが表示されたら「許可」をタップします。
(3)Windowsアプリの操作
起動したらButton1をクリックします。以下ダイアログが表示されたら「アクセスを許可する」をクリックします。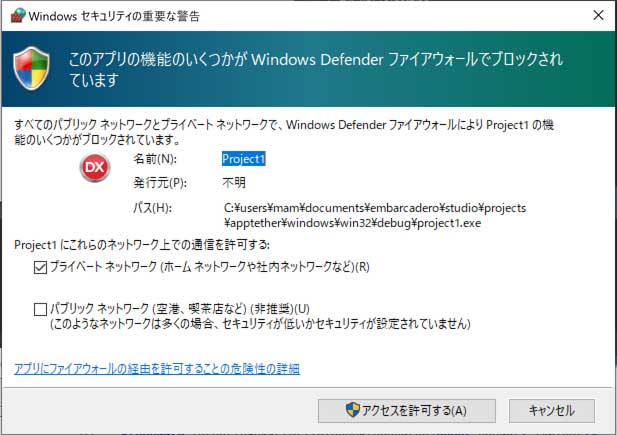
(4)Androidアプリの操作
Button1をクリックします。(5)WindowsアプリとAndroidアプリがアプリケーションテザリングでネットワーク接続され、Androidアプリのカメラ映像がWindowsアプリに送信され表示される